Share this with your friends
Confidence is key in mountain biking. That my friends, is why we want you to know that by practicing a few easy things in your driveway, cruising down the street, or down the longest gentle hill you can find – you are going to feel more confident on your bike!
Using your BRAKES
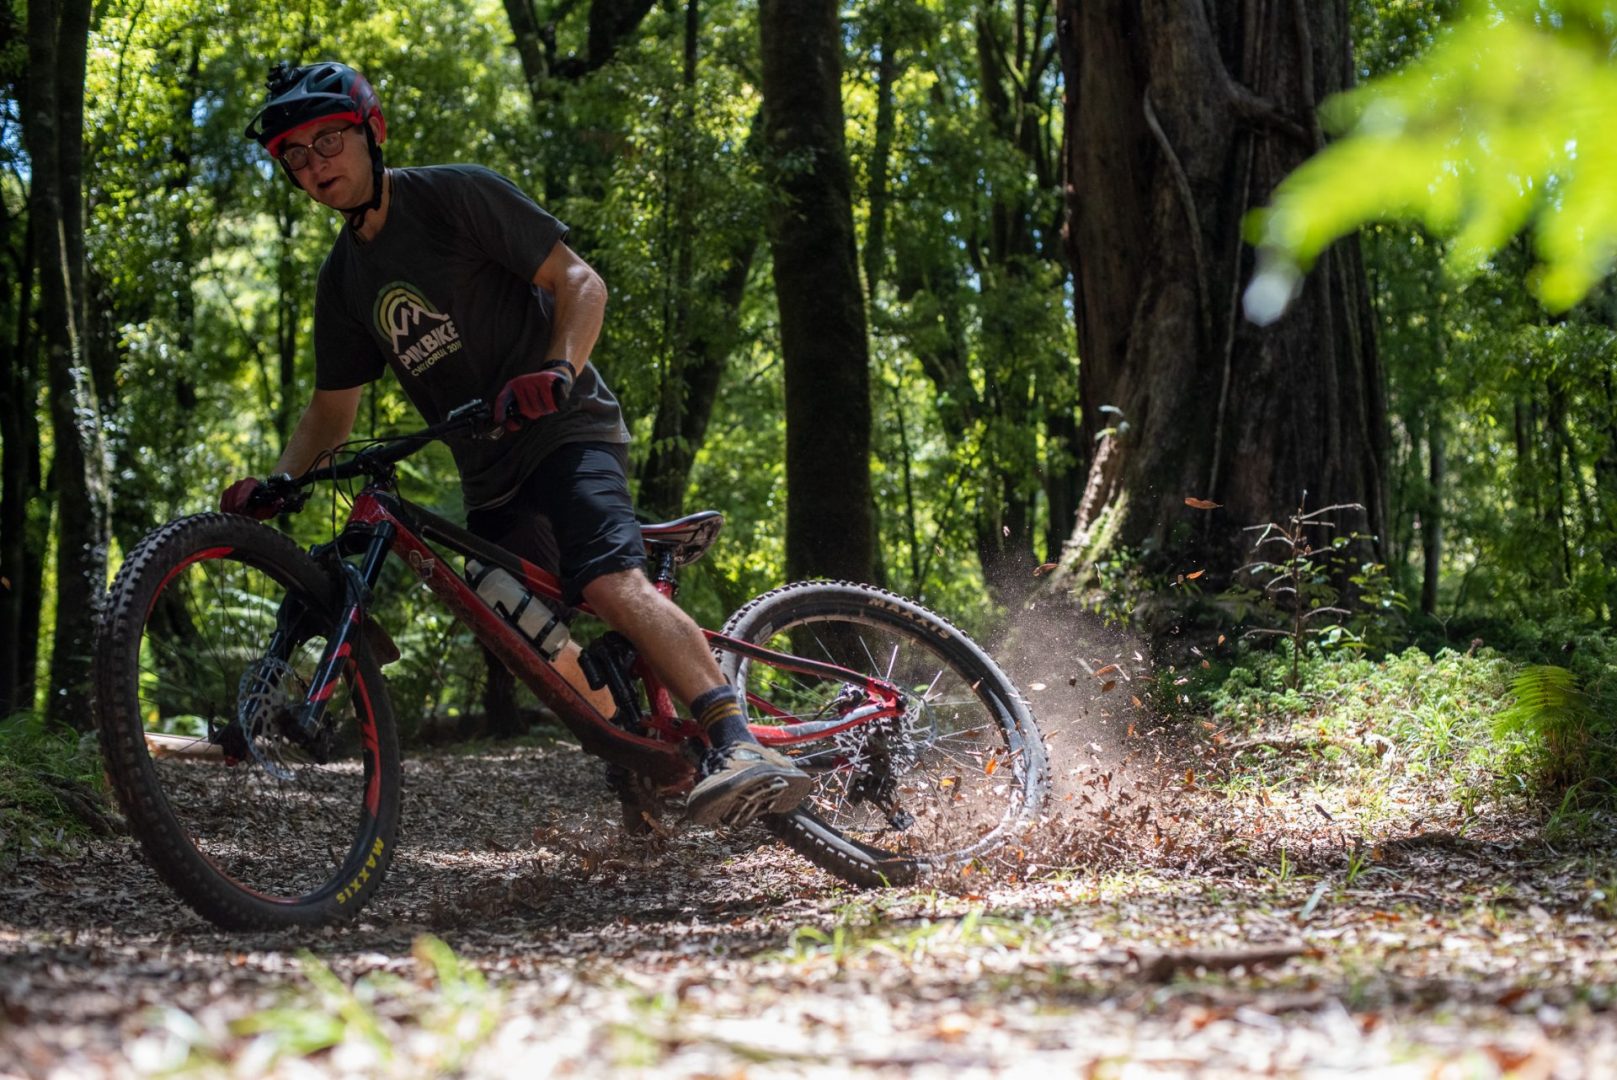
The bottom line is, if you can’t stop in a hurry it is going to be very hard to go fast. This is why we really need to learn how to use our brakes to their full potential. We want to stop or slow down when we want to, not just drag our back wheel around with our back brake half on all of the time. This is were skids get destructive to trails and you suspension wont be working so well and so on and so forth.
What we want to do is, Brake when we know something is coming that we need to slow down for.
What we don’t want to do is, Brake all the time and be braking as we are going over/through features.
In a previous post I have talked about body position. This is where you start to learn how you can move around independently of your bike. We call this bike/body separation. This helps you drive the bike rather than be a passenger. It also helps you distribute your weight properly so that you get maximum traction – This is pretty important when it comes to braking.
How to use your Brakes
To brake in a hurry and be efficient on our bikes, it’s really important to know the best way to operate our brakes. In this post we talk about how to hold on to your bike and control your brakes. When mountain biking, we use our index finger only to brake. This is called “one finger braking”. We want to gradually pull the brakes on until we find that consistent spot where we still have traction between the trail and our tires, and we modulate the lever as needed to achieve this as our speed changes and the trail surface changes.

Here is an activity that you can do at home to feel the difference between holding your Brakes and holding your bars and controlling your Brakes.
To do this activity you can be anywhere. All you have to do is stand next to your bike, and you will take it for a little walk around the driveway, garage, parking lot, or wherever you find yourself reading this.
Holding your Brake, not the Bike (multi finger braking)
- Stand beside your bike holding the grip closest to you with one hand only.
- Put three fingers over your brake lever and violently shake your bike.
Hold the bike, control the brake (one finger braking)
- Stand beside your bike holding the grip closest to you with one hand only.
- Put one finger over your brake lever and violently shake your bike.
You will notice two key things
- You can shake the bike a lot more violently when you only have one finger on the brake.
- You don’t need to pull on your index finger when you are shaking the bike. Now you have control of your braking finger.
By holding onto the bike not the brakes, this now allows you to be more precise with your braking and have more control over how hard you squeeze each lever independently.

Getting used to using one finger will give you so much more control of you bike, and your brake!
Now we walk our bike, just cover the Back Brake
- Walk your bike
- Gradually pull on your lever
- Find the point when your wheel locks up
- Now modulate so it spins freely, then locks up, then spins freely.
- You will notice the wheel locks up and skids easily because there is almost no weight on it.

Braking before corners means that your wheels will roll better and the front wheel isn’t trying to multi task!
Now we walk our bike again, just cover the Front Brake
- Walk your bike
- Gradually pull on your lever
- Find the point when your wheel locks up.
- Now modulate so it spins freely, then locks up, then spins freely.
- You will notice that the weight is pushed forwards and the back wheel lifts off of the ground if we let it.
Being able to isolate each brake helps us have more control and either stop in a hurry in a controlled way or just control our speed if we don’t want to accelerate as we roll into a corner or a feature.
Key Points for Braking
-
Bike set up
Be sure to set your bike up so that it fits you. If your levers are too far out it is hard to reach them, if they are too close then you might squash your other fingers. This can be adjusted and is called your reach adjustment.
-
One finger
Ride covering each brake with one finger only. This allows you to have much more control over your bike and brakes.
-
Be dynamic
In terms of braking, we talk about braking Gradually, to find the Consistent point of traction, and Modulating as necessary to maintain that traction as the trail surface and speed changes.
If this is new information for you then it would definitely be worth taking a mountain biking lesson. Lessons are the fastest way to improve your riding with minimal crashing. Get in touch and we will be happy to put one of our instructors on the case!
Check out this video for a super easy drill that you can practice at home that will help you improve!

